How to print the COVID19 face shield
March 27, 2020
* Click here to order face shields or see how you can help produce shields at home *
* As of April 9th, 2020. We've switched to Version 2.5. Please check out this post to learn about the differences and make sure to get the latest file. *
Updated guide for V2.2 (March 31st, 2020) (also applies to V2.5)
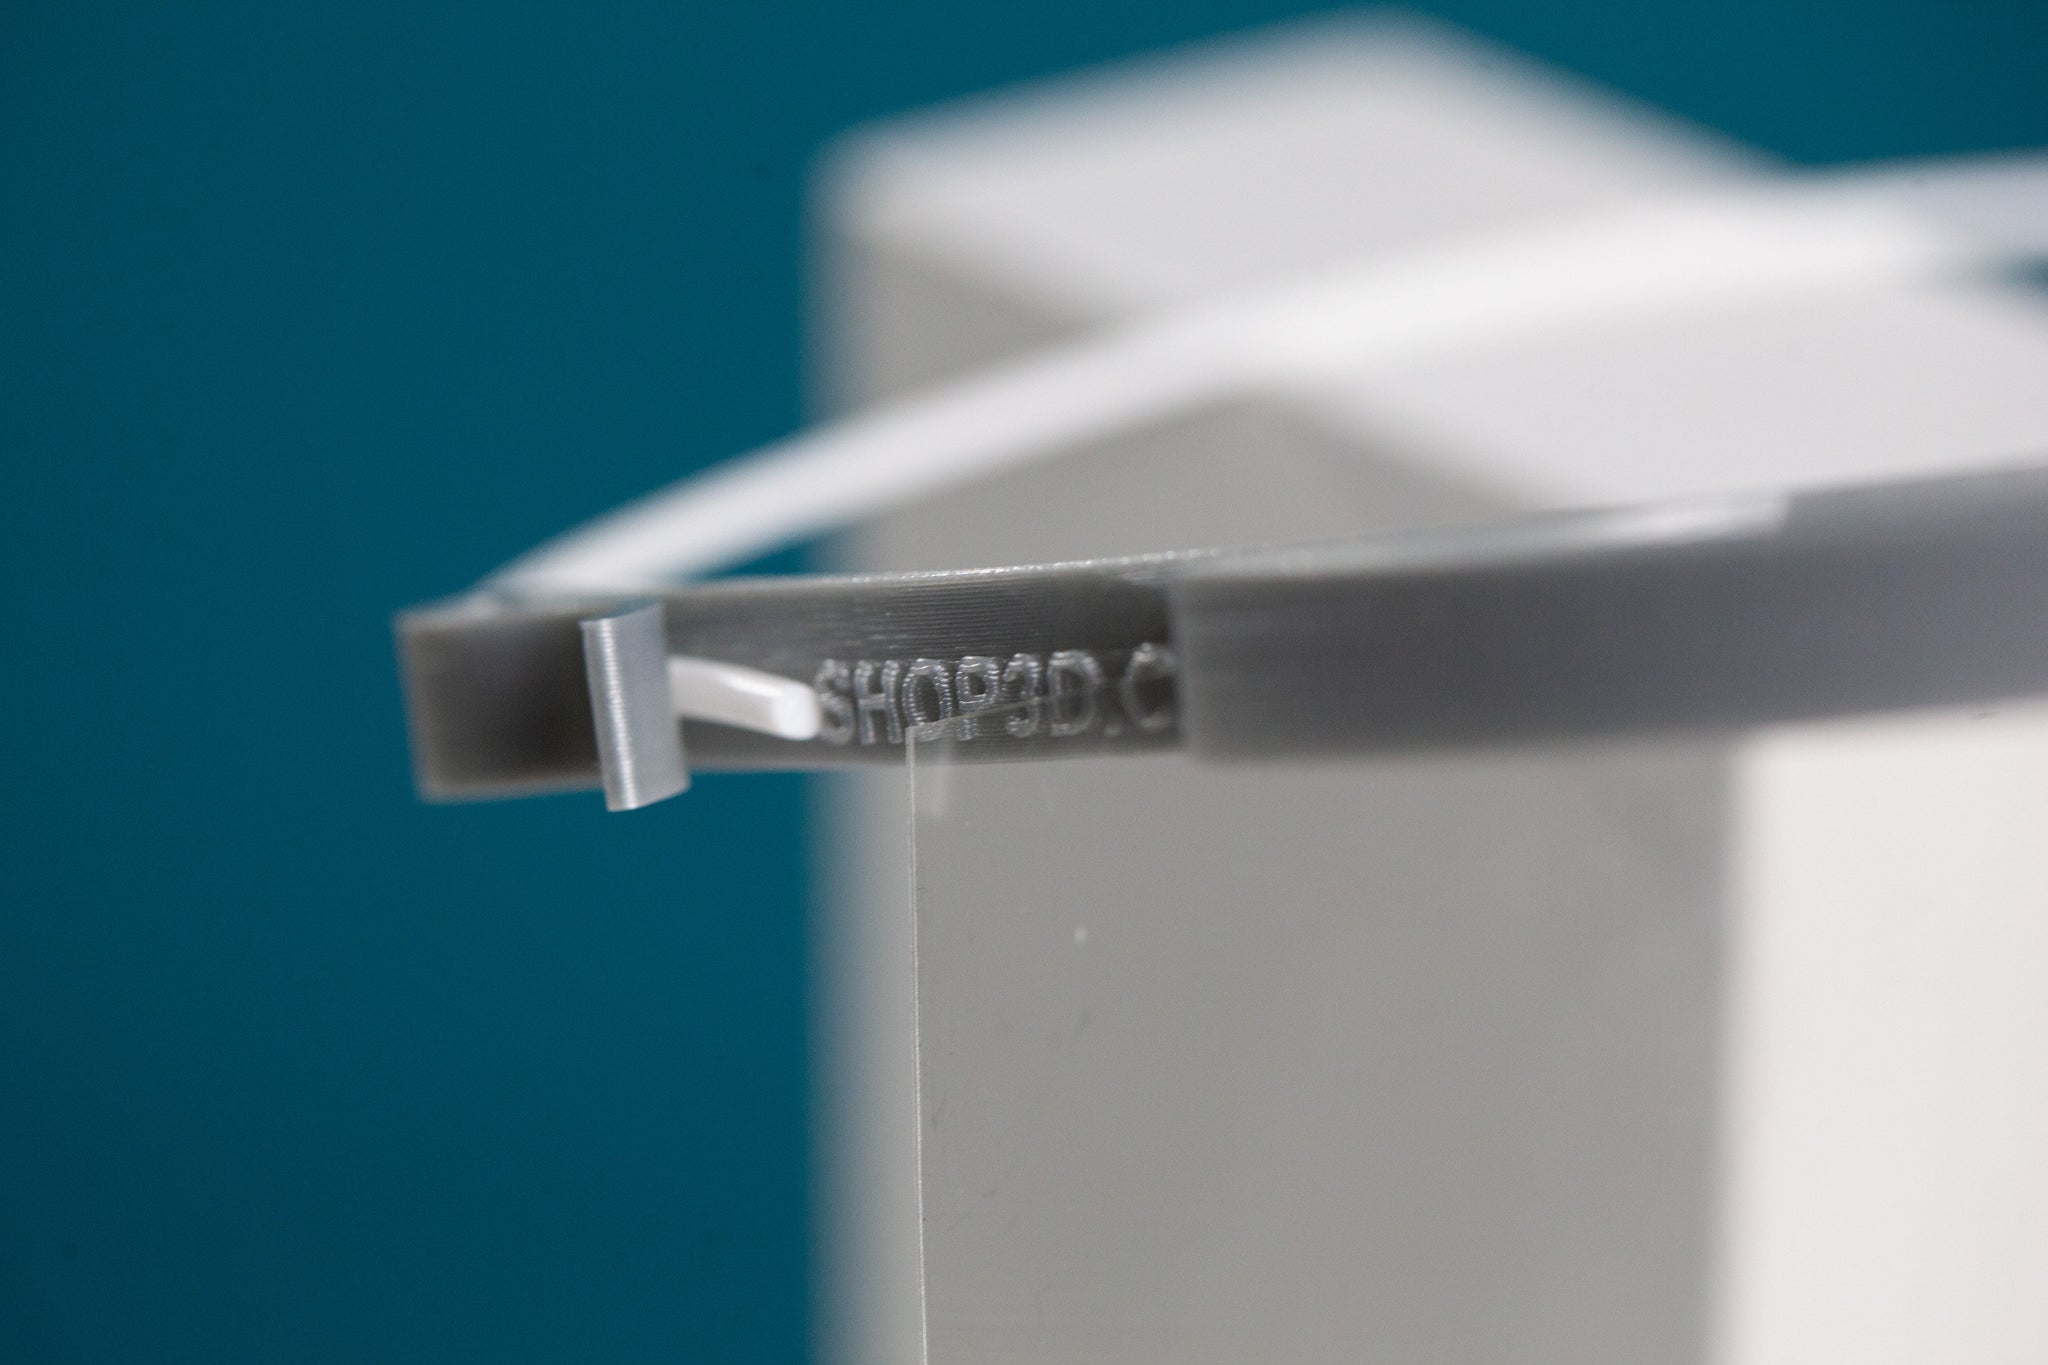
Our version of the face shield is tool-free and is made out of 4 parts. TPU filament, top holder, and a PETG sheet. The assembly can be done by anyone in under 1 minute. The PETG sheet can be removed to be wiped clean using a virus wipe and inserted into a new or sanitized holder.

(V2.2)
It improves on some of the face shield out there in a few ways:
- Assembled in under a minute
- Can ship flat
- No tools required for assembly
- Prints in under 1.5 hours*
- Uses TPU filament that requires no printing and doesn't snag on the hair/head
- Angled ergonomic design for comfort and relief on the forehead
FAQ
- What printer do I need to print these?
- Any reliable printer will do.
- We tested on the Ultimaker, BCN3D Epsilon, Raise3D E2 and Prusa MK2.5S and all came out well.
- What material should I print in?
- PLA or whatever material is most reliable on your 3D printer
- What are the best settings?
- Your current default settings will probably work well
- How can I speed things up to make more?
- Continue reading to see how we improved our printing time without sacrificing quality too much.
Print Settings - Applied to FFF printers only
Beginner users
We recommend using the default settings on your slicer with thicker layer slices to improve on speed. You can turn infill % down to 0. Print times will vary but at default settings we see around 1.5 - 2.5 hours.
Advanced users
For a good mix between quality and speed we've set our extrusion width to 0.4mm exactly. A thicker line width will increase speed a bit but not by much. We print our shield at 0.25mm layer height, with no infill and no gap filling. Our wall thickness is set to 3 walls so the clamp part is stiffer. It's also good to increase your printing temperature by 5-10 degrees because we're squeezing more material per second.
In summary:
- 0.25mm layer height
- Set extrusion width to 0.4
- Initial line width set to 0.4mm or 100%
- No gap filling
- Three walls
- Extrusion temperature increased by 5-10 degrees from regular
- No brim
This brings printing time down to about 1.5 hours per mask
Expert users (also known as 3D printing gurus or just crazy people!)
We got our times down to 1.5 hours and realized we can't be at the shop 24/7 to keep taking parts off the plate and starting new jobs. So we decided to stack parts vertically on top of each other. If you don't trust your 3D printer, we don't recommend this. Here's what you need to do.
Step 1. Open up your slicer and duplicate a certain amount of copies that make sense for your schedule.
Step 2: Aligning the models and stack in the z-direction with some gap

The X/Y coordinates of your part should be exactly the same and the only value that should change is the Z position. The model here is 10mm tall and our chosen z-gap is set to our layer height, in this case 0.2mm; we found that gives us good adhesion to the part below and allows for relatively easy removal. With this in mind here are the coordinates for the parts bottom to top (X, Y, Z):
In general, the formula is: (10mm + z-gap)*(part # - 1)
Part 1: [0, 0, (10mm + 0.2mm)*(1-1)] -> [0, 0, 0]
Part 2: [0, 0, (10mm + 0.2mm)*(2-1)] -> [0, 0, 10.2mm]
Part 3: [0, 0, 20.4]
Part 4: [0, 0, 30.6]
Part 5: [0, 0, 40.8]
Part 6: [0, 0, 51.0]
Step 3: There's a portion in the model when stacking that will be hovering in the air. We need to enable tree supports and block supports from being generated everywhere else.
Use the support blocker function in Cura to place a couple of cubes and then resize and place them on the edges of the visor as seen in the pictures below:


Then go ahead and enable tree supports to get this slice preview:

With this formation the printing time is about 10 hours. It's probably better to add a few more in there and hit some where around a 16-24 hour cycle time to set this up every morning or night.
There's also a way to stack these in alternating order to avoid supports. This allows us to print without tree supports but makes printing a bit unreliable depending on your printer. Make sure to test well so you don't waste filament.
Here's an example of the visor stacked in alternating order:

Donors and Support Acknowledgement:
- Shop3D.ca is paying for shipping, return shipping, materials, printing and logistical support out of pocket for this initiative.
- Any donated kits are printed by the crowd-sourced community and volunteers
- Mayku has donated an amount of PETg sheets for this initiative
- Utlimaker has provided printing material for this initiative
- Please visit our donor page to where all the support is coming from! (coming soon)
Disclaimer:
Our intention for these face masks is to provide community support to fellow Canadians in the most dire need. We are operating under the assumption that this may not be the best way but slightly better than going through the most desperate times without having any PPE at all.
We do not recommend this for high risk medical procedures and should not be a substitute for proper medical PPE. Please consider deploying this only for low risk situations.
Shop3D is not after any financial gain and if you choose to use the product, we are not providing any guarantees on the product function. Buyers agree to release Shop3D and all crowd-sourced members and donors of all liabilities. If this arrangement does not suit you, please do not order any shields.